Start a font
- Open the studio and choose Start a font.
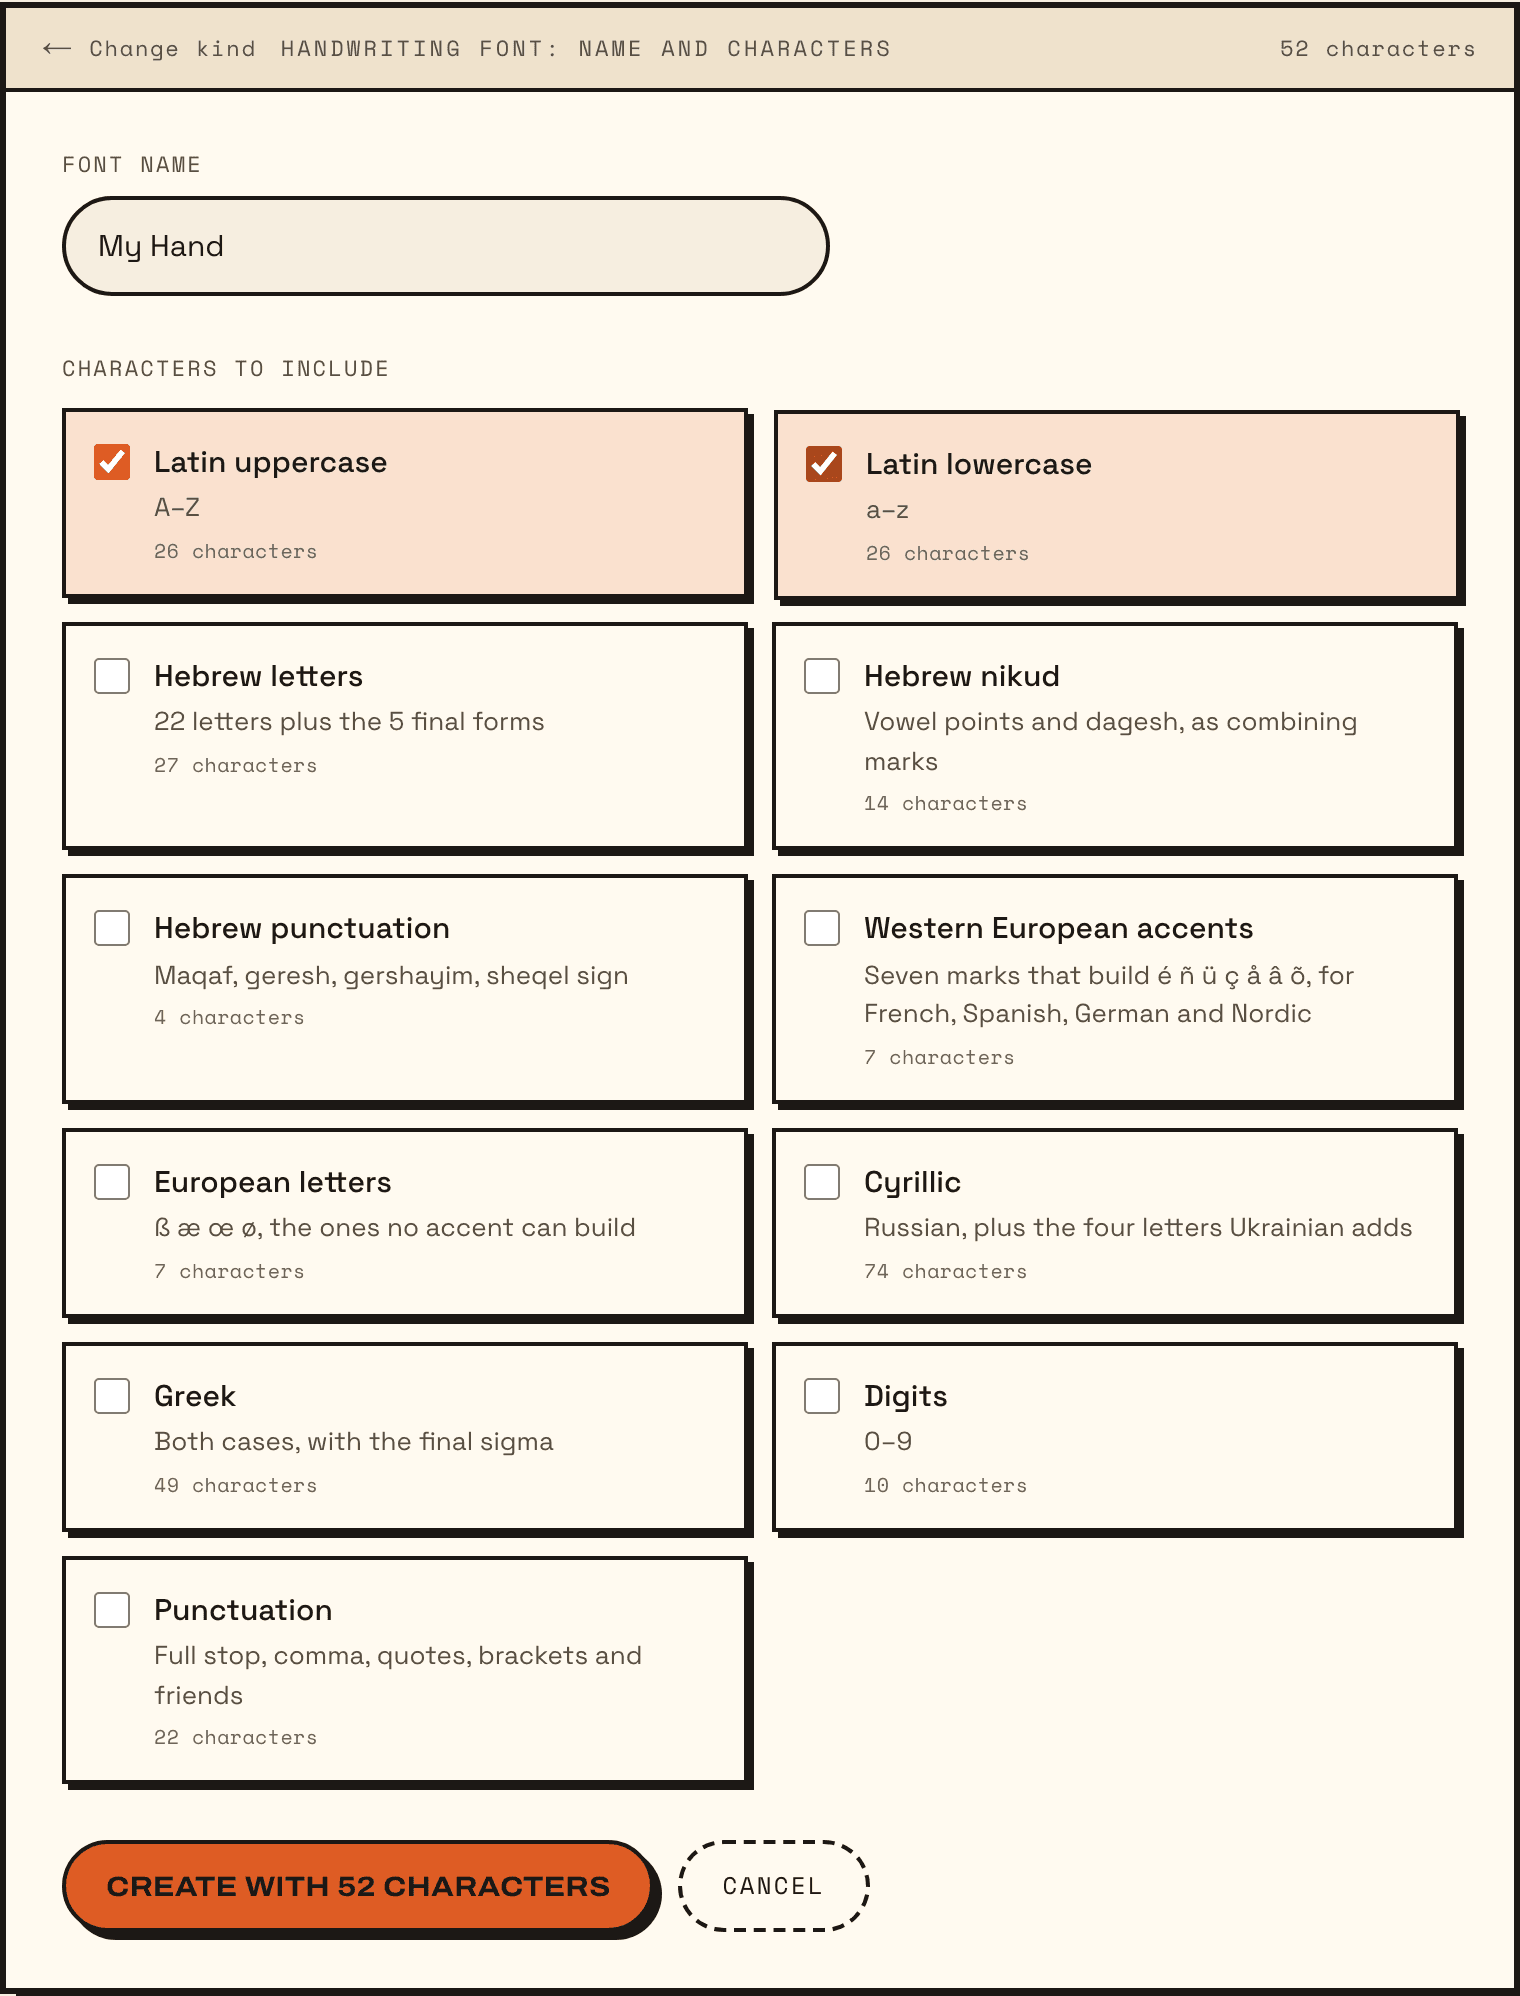
- Choose Handwriting font.
- Give it a name under Font name. You can change it later.
- Under Characters to include, tick the sets you will write: Hebrew letters, Latin lowercase and uppercase, digits, punctuation, nikud and so on. Each set adds boxes to fill, so start with what you will use.
- Choose Create with 80 characters (the number is however many your sets add up to).
You don’t need an account. Everything you make stays in this browser until you choose to save it to an account.
Add your handwriting
A new font opens on the Add handwriting tab, with two ways in:
- Print a sheet: print a sheet of boxes, write one character in each, then photograph or scan it back. The most precise way, and the one to start with. See Print, fill in and scan back a sheet.
- Use a photo: a photo of something you have already written, a letter or a notebook page. The best source of extra versions of each letter. See Import letters from a photo of your handwriting.
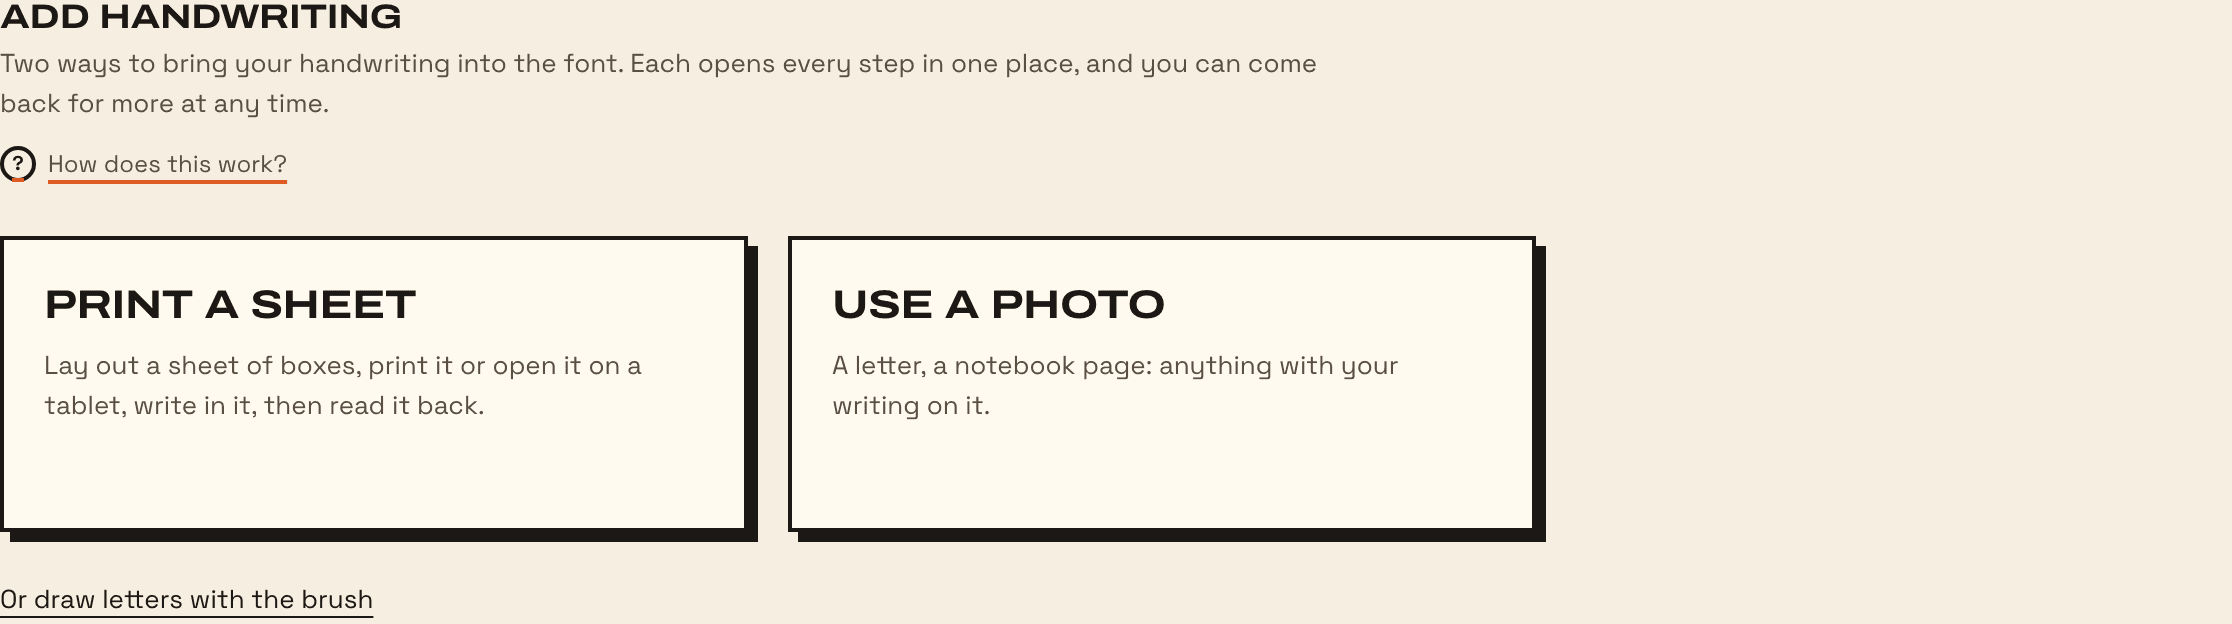
There is a third, slower way: Or draw letters with the brush opens the characters, and you draw each one on screen.
Check every character
The Characters tab shows every character in the font. Select one to open it in the editor. With the Brush you draw over or beside the traced outline; with the Select tool you move its points. A dot on a character means it has a version still to draw.
Then the Spacing tab sets how much room each letter keeps around it, so words read evenly.
Make it feel real
A font built letter by letter looks stamped: every e the same. Three things fix that, each with its own guide:
- Alternates: several drawings of a letter, rotated as you type.
- Ligatures: letters that join, like th and של, and symbols such as a heart for
<3. - Nikud and accents: points and accents that sit where they belong.
Try it out
The Preview tab sets your own words in your font, the way any app will. Characters you haven’t drawn yet show in a fallback font, so you can see what is missing.
Export and install
Export, in the font’s header, builds an OpenType (.otf) file you can install on a Mac or a PC, and on an iPhone or iPad through a profile. See Install your font.
Keep it in your account (optional)
An account is only for having your fonts on more than one device. To sign in, open the account menu (the round button at the top of the studio) and choose:
- Google’s own Continue with Google button. Google’s account chooser opens over the studio; pick an account and you are in, without leaving the page.
- If that button can’t load (a blocker, or no connection to Google), Fonterie shows its own Continue with Google button instead, which takes you to Google and back.
- Or type your email address and choose Email me a code.
Once you are signed in, Cloud save keeps your fonts in your account.